Overview
In this example you create an integration that reads in a simple xml file, extracts a value from it and uses the value to call a web service. The web service returns a JSON message that is transformed to xml in a pipeline. This new xml is then saved to a file.
Instructions
Setting up a mock service
Get Postman from https://www.getpostman.com/
Start Postman and select Mock Server

Define path and the response data


Now you can call your REST API

Creating the integration
Create a new Empty BizTalk Server Project

Define application name to properties
Sign the assembly

Add a New Item

Select BizTalk Orchestration


Create new configured port


Select the Receive shape and drag it to orchestration


Create a new schema file called testrequest_schema.xsd:
<?xml version="1.0" encoding="UTF-8"?>
<xs:schema xmlns:xs="http://www.w3.org/2001/XMLSchema">
<xs:element name="testvalue">
<xs:simpleType>
<xs:restriction base="xs:string"/>
</xs:simpleType>
</xs:element>
<xs:element name="testrequest">
<xs:complexType>
<xs:sequence>
<xs:element ref="testvalue"/>
</xs:sequence>
</xs:complexType>
</xs:element>
</xs:schema>
Create an XML file called testrequest.xml:
<?xml version="1.0" encoding="UTF-8"?>
<testrequest>
<testvalue>mytest</testvalue>
</testrequest>
In the Solution Explorer add an Existing Item and select the testrequest_schema.xsd:


Select the schema for the operation Operation_1

Create a new message and also in here select the same schema.


Create a new variable:


Add an Expression shape


In the expression editor add:
MyTestVariable = xpath(Message_1, "string(//*[local-name()='testrequest']/*[local-name()='testvalue'])");

Create a new System.String type message:

Add Contruct Message shape:

For messages constructed select Message_2

Select MessageAssignment shape and drag it into the ConstructMessage1:


Add new item, select Property Schema:


Rename Property1 to MyTestProperty:

For the MyTestProperty select MessageContextPropertyBase:

Create a new send port (configured port):


Drag a new Send shape and define Message and Operation:

Add the following code to the MessageAssignment (change the https address):
Message_2="";
Message_2(MyTestProperty) = MyTestVariable;
Message_2(WCF.VariablePropertyMapping)= @"<?xml version='1.0' encoding='utf-16'?>
<BtsVariablePropertyMapping xmlns:xsi='http://www.w3.org/2001/XMLSchema-instance' xmlns:xsd='http://www.w3.org/2001/XMLSchema'>
<Variable Name='MyTestProperty' PropertyName='MyTestProperty' PropertyNamespace='https://REST_API_test.PropertySchema1' />
</BtsVariablePropertyMapping>";
Message_2(WCF.HttpMethodAndUrl)=@"<BtsHttpUrlMapping> <Operation Method='GET' Url='/{MyTestProperty}' /></BtsHttpUrlMapping>";
Message_2(WCF.SecurityMode)="Transport";
//If using HTTP use SecurityMode 'None'
//Message_2(WCF.SecurityMode)="None";
Message_2(WCF.TransportClientCredentialType)="None";
Message_2(WCF.SuppressMessageBodyForHttpVerbs)="GET";
Port_RequestToMockService(Microsoft.XLANGs.BaseTypes.Address)="https://b0ec7649-23ff-4023-b7ea-a61ef7043127.mock.pstmn.io";
Port_RequestToMockService(Microsoft.XLANGs.BaseTypes.TransportType)="WCF-WebHttp";

Create message_3:

Add new item, select Receive Pipeline, this is needed because the response from the mock service is JSON:

Add JSON decoder and XML disassembler and define both Root Node and Root Node Namespace in the pipeline.

Allow unrecognized messages:

Add receive component and set Message as Message_3

In the port select the new pipeline:

Set Request message type System.String

Set response message type System.Xml.XmlDocument

Add a new send shape:

Create new configured port:


For the Send_2 select Message and Operation:

Build, and when you get "you must specify at least one already-initialized correlation set for a non-activation receive that is on a non-selfcorrelating port" activate the first receive shape:

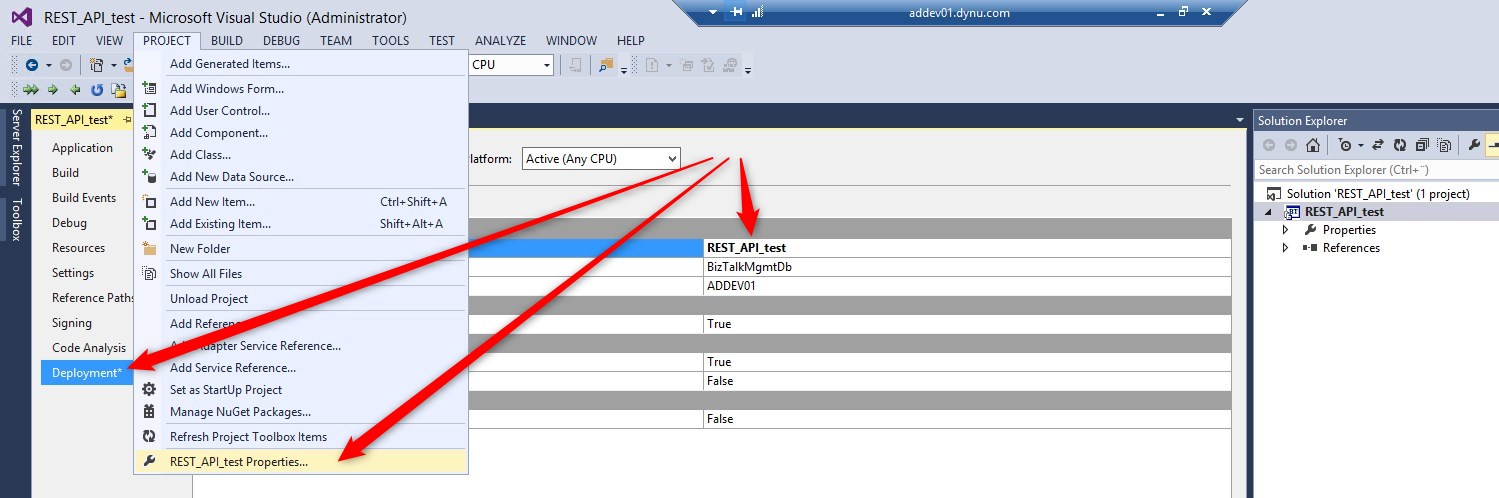
Deploy
Create new one-way receive port

Create new receive location:


Create a new send port:

Define filters:

Define the ports for the orchestration:

Start the integration.
If everything went fine you should get the following XML file as a result:
<ns0:ResponseMessageRoot xmlns:ns0="http://tempuri.org/MyRESTAPITest">
<fruit>Apple</fruit>
<size>Large</size>
<color>Red</color>
</ns0:ResponseMessageRoot>
