Overview
BizTalk Deployment Framework is a handy tool for deploying an integration on multiple target environments from a single MSI package. The BizTalk Deployment Framework needs to be installed only on the development machine where the Visual Studio is installed.
Setting up the deployment framework to a project the first time might not be a day in the park, but once you get it up and running it really pays off. As always, things can be done in many different ways, this is one, you might find some better way to do things later in your own projects.
The DeploymentFrameworkTest project used in these instructions is created in the post
https://integrationstuff.blogspot.fi/2016/11/biztalk-integration-acting-as-proxy-to.html
Instructions
Click the screenshots to make them larger.
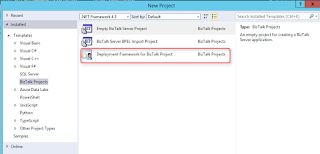
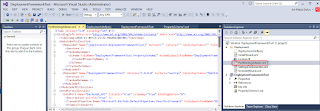
"Deployment Framework for BizTalk Project" is added
in the "Biztalk Projects".
This
is what you should see when Deployment Framework in installed.
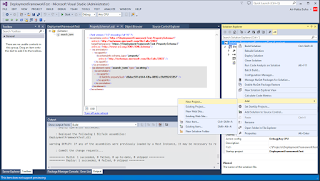
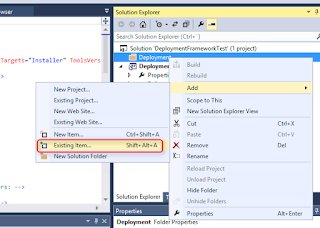
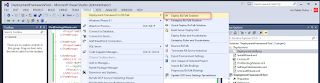
On the solution right click and select 'New Project'
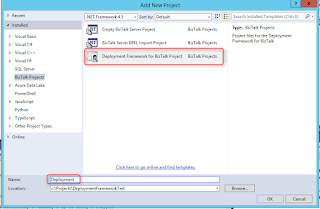
Select 'Deployment Framework for BizTalk Project', set the name as 'Deployment'
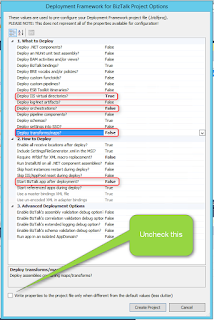
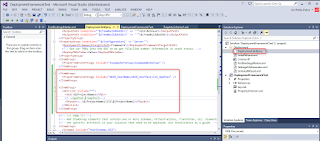
Set 'Deploy IIS virtual directories' to 'true'. Also if you don't want to start integration after deployment you can prevent that from happening. There's no orchestrations or maps in this integration so set them 'False'. Uncheck the 'Write properties to the project file only when...' checkbox.
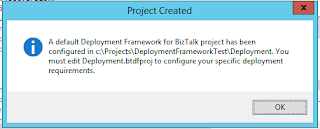
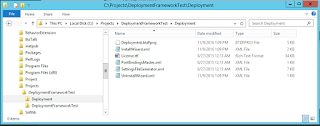
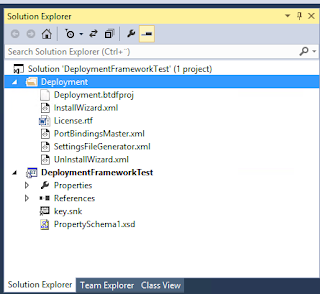
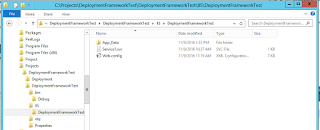
C:\Projects\DeploymentFrameworkTest\Deployment -directory with content was created.
But the directory was not created in the Visual Studio project so it needs to be added manually.
On the solution right click and select 'New Solution Folder'
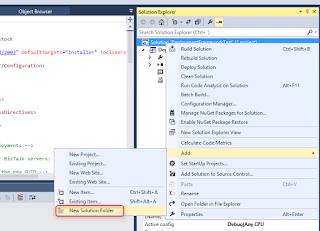
Name the directory as 'Deployment'
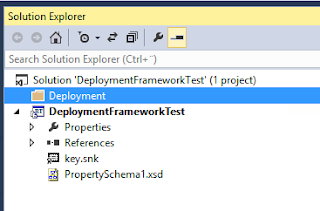
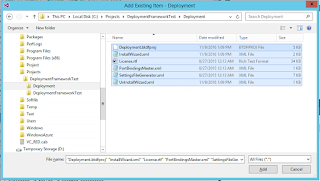
On the Deployment -directory right click and select Add -> 'Existing Item'.
Select the files in the 'C:\Projects\DeploymentFrameworkTest\Deployment' -directory.
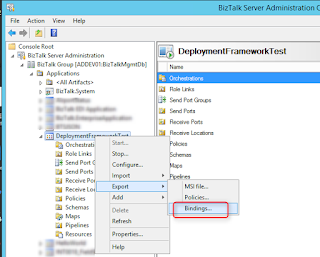
In the BizTalk Server Administration Console export the integration bindings.
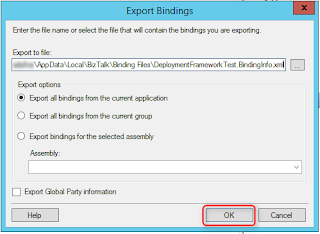

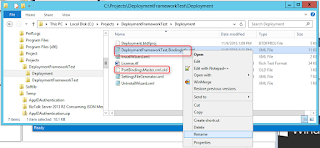
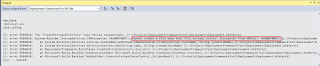
Replace the content of "C:\Projects\DeploymentFrameworkTest\Deployment\PortBindingsMaster.xml" with the content of the exported DeploymentFrameworkTest.BindingInfo.xml.
Open the file in Notepad++ and linearize it. This step might not be needed if there is no trouble with line endings.

Then pretty print and the save the file.
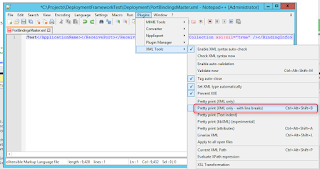
PortBindingsMaster.xml should now contain the exported binding data.
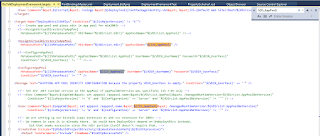
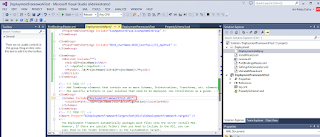
Edit the Deployment.btdfproj and add the following rows:
<ItemGroup>
<PropsFromEnvSettings Include="VDIR_UserName;VDIR_UserPass;IIS_AppPool" />
</ItemGroup>
<ItemGroup>
<VDirList Include="*">
<Vdir>$(ProjectName)</Vdir>
<!--<AppPool></AppPool>-->
<Physdir>..\$(ProjectName)\IIS\$(ProjectName)</Physdir>
</VDirList>
</ItemGroup>
Check that 'Configuration' matches.
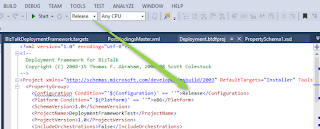
$(IIS_AppPool) needs to be defined in the BizTalkDeploymentFramework.targets since we are getting it from the configuration file (SettingsFileGenerator.xml, editing this will come after a few steps). That is why
<AppPool> is in comments, it's not used from Deployment.btdfproj.
You need to consider how big changes you make to the BizTalkDeploymentFramework.targets since this same file is used in all of your deployment projects.
In the 'C:\Projects\DeploymentFrameworkTest\DeploymentFrameworkTest' create IIS -directory and under that DeploymentFrameworkTest -directory and copy data from C:\inetpub\wwwroot\DeploymentFrameworkTest to it.
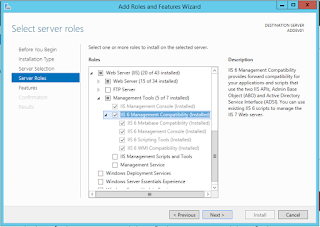
Install 'IIS 6 Management Compatibility' components if not already installed.
Set the dll name (the one in the 'C:\Projects\DeploymentFrameworkTest\DeploymentFrameworkTest\bin\Release' -directory, or 'Debug').
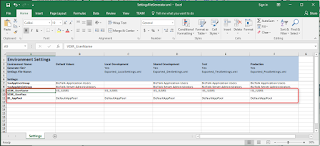
Open the "C:\Projects\DeploymentFrameworkTest\Deployment\SettingsFileGenerator.xml" using Excel (or OpenOffice etc.) and set the values. When you have edited the file, save and close. If the file is not closed you'll get errors later.
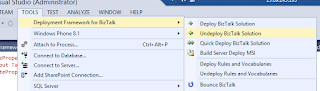
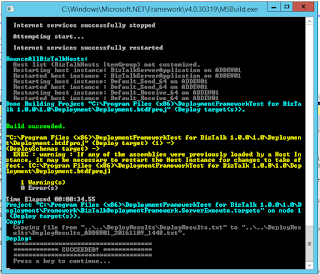
Deploy the solution
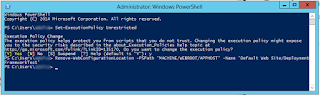
When deploying if you get 'The "CreateVirtualDirectory" task failed unexpectedly.' and 'Cannot create a file when that file already exists.' you'll need to run a couple of command in PowerShell (as Administrator)
Set-ExecutionPolicy Unrestricted
Remove-WebConfigurationLocation -PSPath 'MACHINE/WEBROOT/APPHOST' -Name 'Default Web Site/DeploymentFrameworkTest'
The integration is now deployed.
Go to the BizTalk Server Administrator Console and start the integration. If you had the console open prior to deployment refresh to see the deployed integration.
Test that the integration works as expected.
Undeploy the integration.
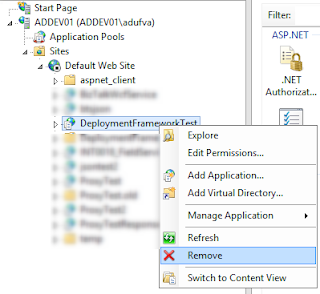
Manually delete the IIS virtual directory.
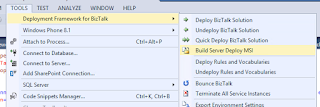
Build server deploy MSI.
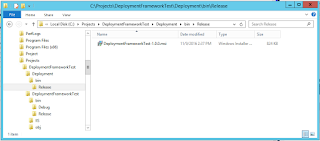
The MSI installer package was created in the 'C:\Projects\DeploymentFrameworkTest\Deployment\bin\Release' -directory.
Run the MSI package.
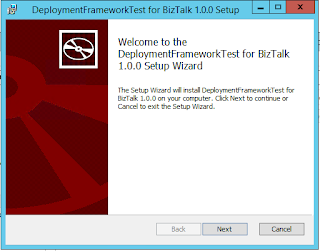
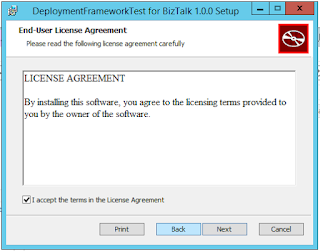
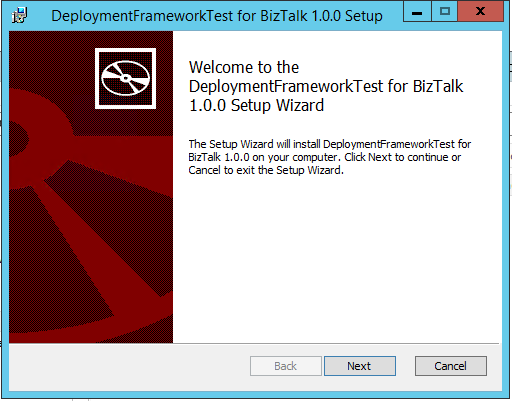
Accept license agreement. Next.
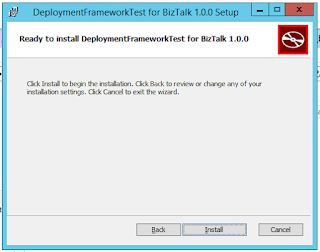
Install
Next
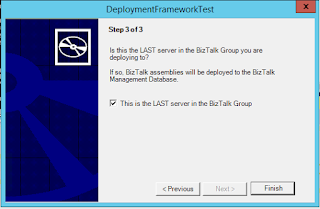
Select 'Start deploying to BizTalk when I click Finish'
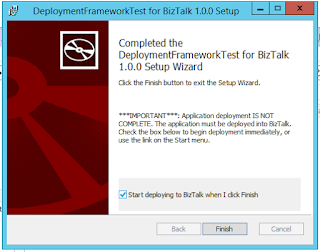
Next
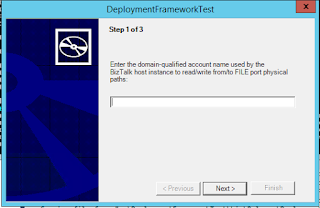
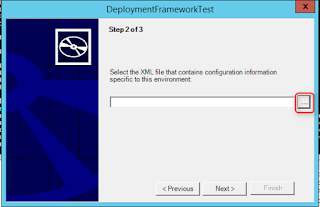
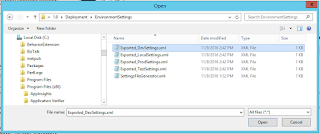
Select the setting file depending on the environment you are deploying on.
Next

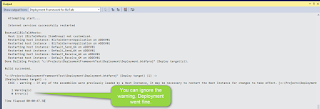
Finish. Deployment starts.
Deployment was successful. Now you can manually start the integration in the BizTalk Server Administrator Console (if you have StartApplicationOnDeploy set to 'False' ).
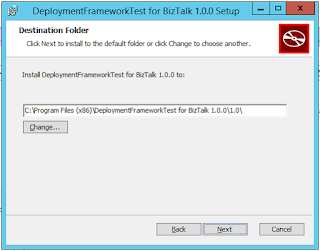
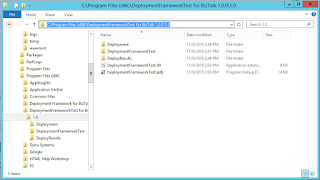
The integration was installed in the 'C:\Program Files (x86)\DeploymentFrameworkTest for BizTalk 1.0.0\1.0' -directory.
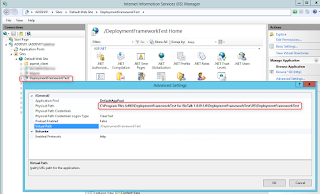
The app is created to IIS.
And it can be found from Control Panel\All Control Panel Items\Programs and Features. This is where you can uninstall the integration. You'll need to manually delete the integration from the BizTalk Server Administrator Console and IIS, uninstalling does not do that.

Hints and tips
In this project we did not make any changes to the PortBindingsMaster.xml file but if you need to use variables there use curly brackets instead of round brackets to get a variable value from the SettingsFileGenerator.xml.


