Overview
In Mule ESB using Java for file content modification and other purposes is easy, but often getting started is not - examples might be very complicated and hard to follow. In this example only a few absolutely necessary components are used and the Java code is kept simple.
The user interface might look a bit different if you have newer Anypoint Studio, but the instructions are applicable to that also.
Instructions
Click images to make them bigger to see details.
Download Anypoint Studio (it's free, can be used with Community Edition and does not expire) from https://www.mulesoft.com/platform/studio and install it. The Enterprise Edition that comes with the Anypoint Studio does expire in a month, but we won't be using that.
Download Anypoint Studio (it's free, can be used with Community Edition and does not expire) from https://www.mulesoft.com/platform/studio and install it. The Enterprise Edition that comes with the Anypoint Studio does expire in a month, but we won't be using that.
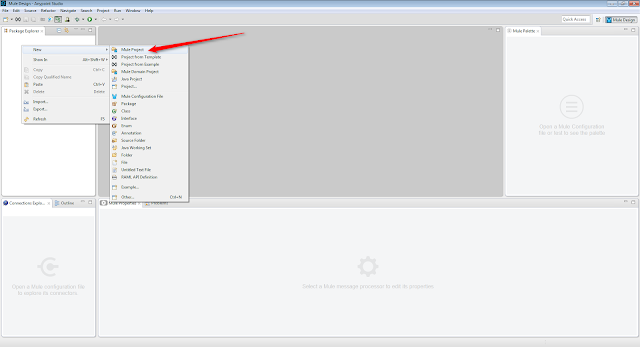
Create a new Mule project.
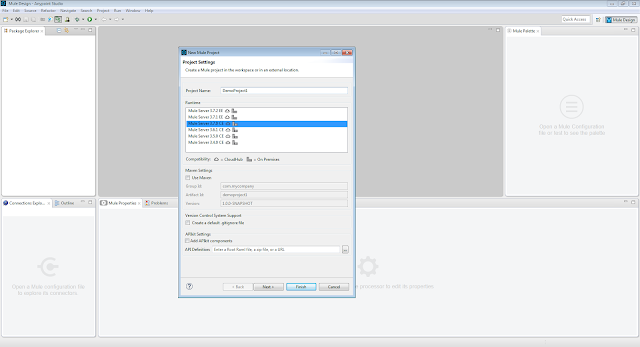
Select the runtime you want to use.
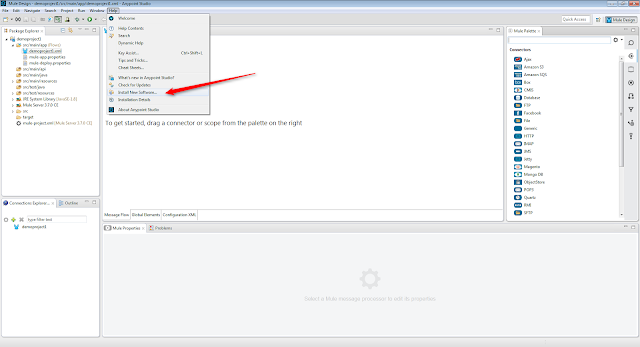
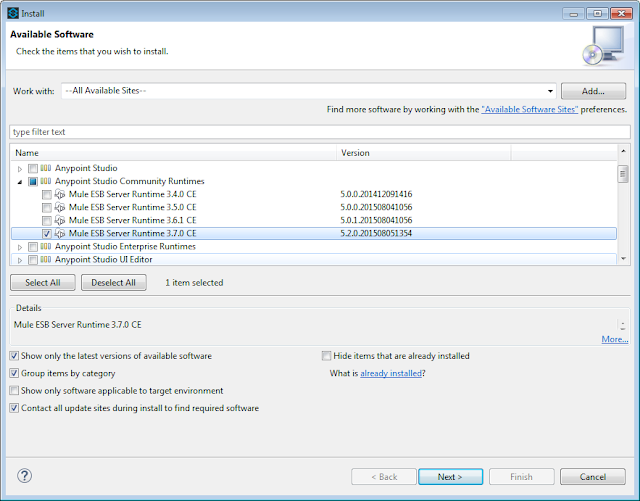
If you want to use CE runtime but you don't have it installed, go to Help -> Install New Software, work with All Available Sites and select the runtime you want from 'Anypoint Studio Community Runtimes'.
Drag two file elements to the Message Flow
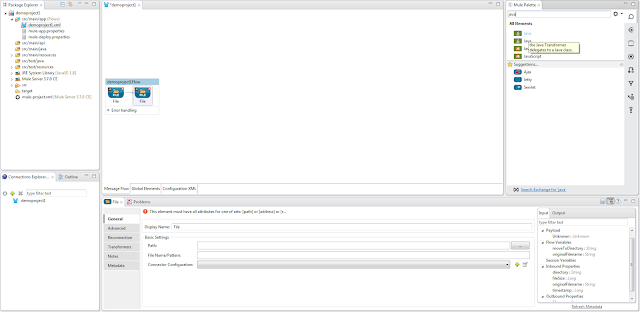
Drag Java element between the file elements.
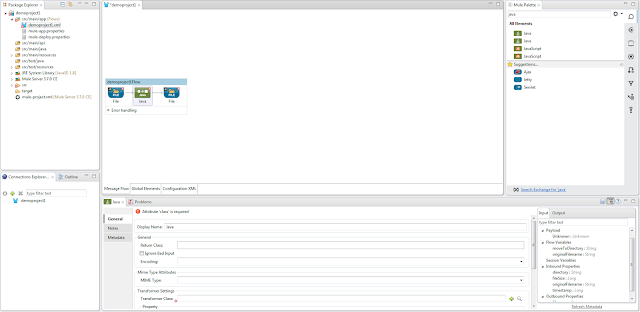
We'll also need Object to Byte Array and Byte Array to String elements. Put them between the first File element and the Java element.
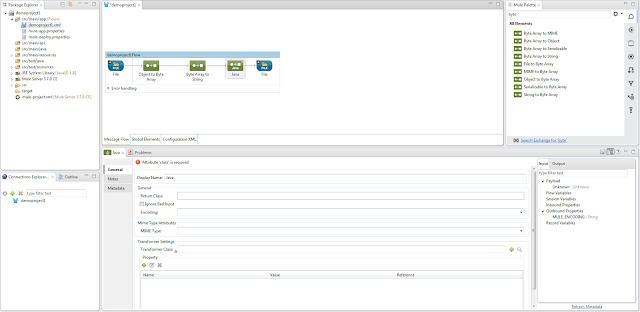
Configure the first file element.
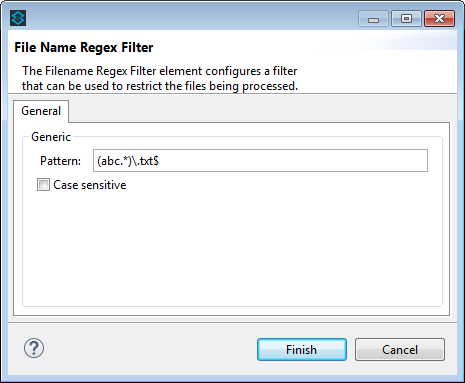
Define the directory to poll (E:\MuleDemo\In) and polling frequency (10000 = 10 sec) and file age (5000 = 5 sec). Only process files that start with 'abc' and the extension is 'txt'. This can be defined in the file name filter. Leave other fields empty.
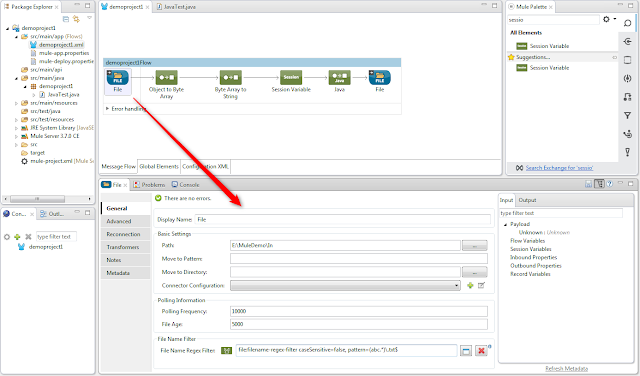
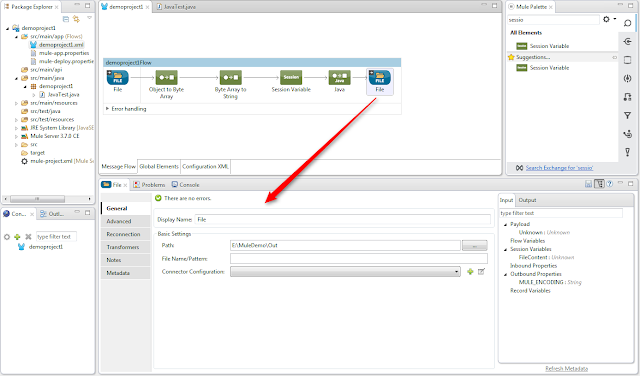
Define the other file element. Only the path (E:\MuleDemo\Out) is required.
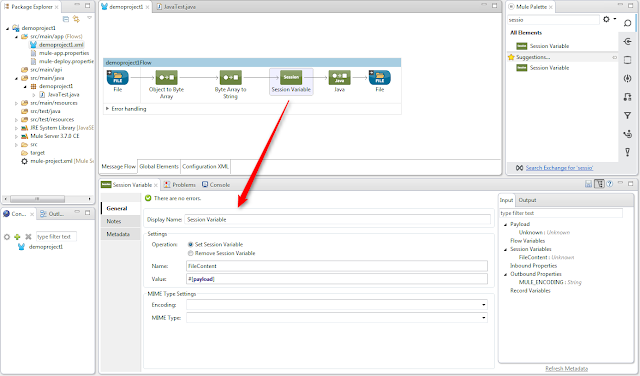
Define the session variable. #[payload] is the contents of the file that is read in from the E:\MuleDemo\In -directory and stored in the 'FileContent' session variable.
Now go to Java element and click the + -sign.

Give a name for your Java class and click 'Finish'
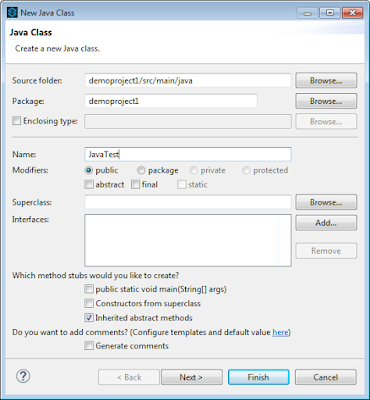
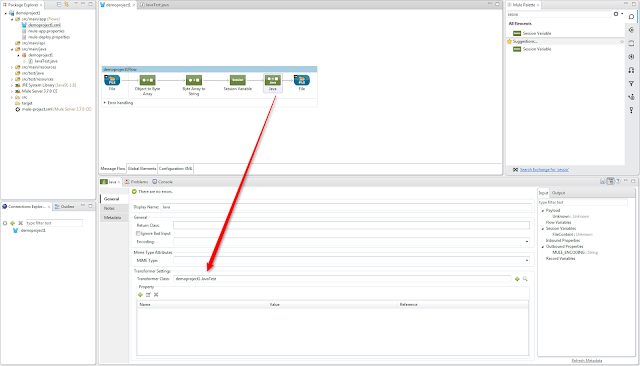
A new package and class are created.
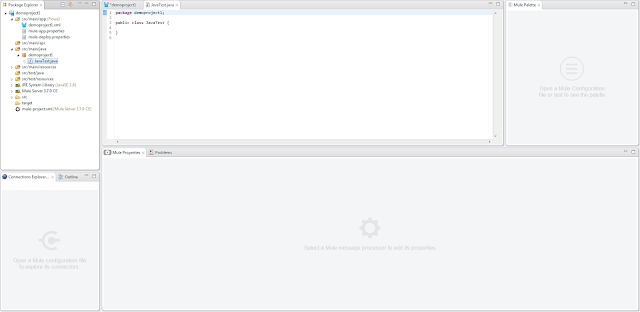
Add the code to the package.
package demoproject1;
import org.mule.api.MuleMessage;
import org.mule.api.transformer.TransformerException;
import org.mule.api.transport.PropertyScope;
import org.mule.transformer.AbstractMessageTransformer;
public class JavaTest extends AbstractMessageTransformer {
@Override
public Object transformMessage(MuleMessage message, String outputEncoding)
throws TransformerException {
String sFileContent = (String)message.getProperty("FileContent", PropertyScope.SESSION);
String sNewFileContent = "";
sNewFileContent = "Hello World! " + sFileContent;
return sNewFileContent;
}
}
Now it should look like this.
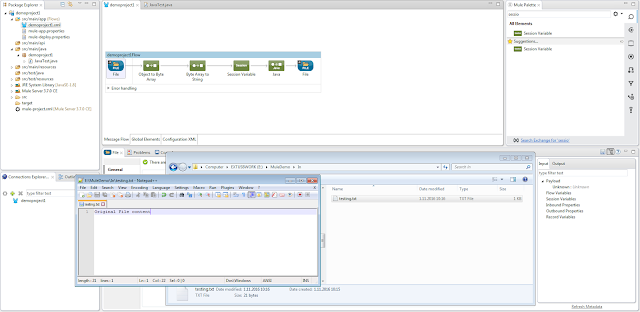
Create a new file (NOT starting with abc if you have already started the integration) in the E:\MuleDemo\In -directory. Once created, rename it to 'abc_testing.txt'.
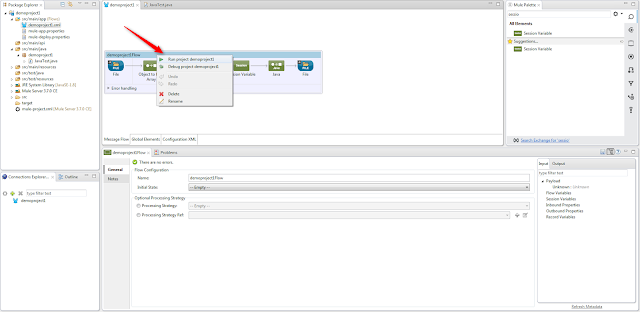
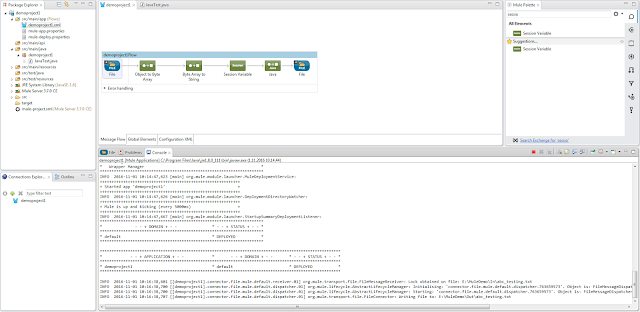
Start the integration by right clicking the flow and selecting 'Run project demoproject1'
The integration is running and the file was read in, modified by the Java code and moved to the E:\MuleDemo\Out -directory.
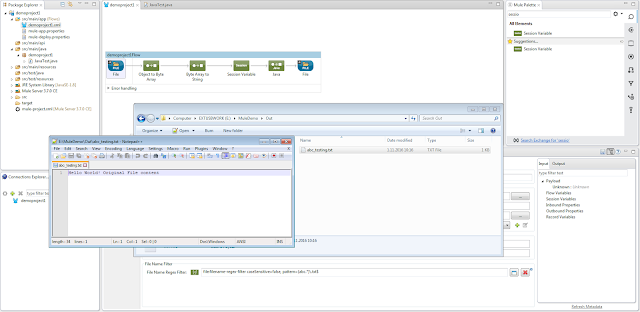
Check that "Hello World!" was added to the file before the original content.
Now you are good to go with less trivial scenarios.

the blog is good and Interactive it is about Mulesoft Anypoint Studio it is useful for students and Mulesoft Developers for more updates on Mulesoft mulesoft Online training india
ReplyDeleteGood post really helpful for everyone.
ReplyDeleteMulesoft Online Training
Mulesoft Training in Hyderabad
Thanks for delivering a good stuff, Explanation is good, Nice Article.
ReplyDeleteMule Training
Mule Certification
Mulesoft Training in Hyderabad
Mulesoft Training in Bangalore
Mulesoft Training Hyderabad
Best Mulesoft Online Training
Best Mulesoft Training
Mulesoft Course Online
Mulesoft Training and Certification
Mulesoft Architecture Certification
Mulesoft Course
Mulesoft Developer Certification
Mulesoft Self Learning
Mulesoft Online Training in India
Nice and good article. It is very useful for me to learn and understand easily. Thanks for sharing
ReplyDeleteMule 4 Training
Best Mulesoft Online Training
smm panel
ReplyDeleteSMM PANEL
iş ilanları
instagram takipçi satın al
hirdavatciburada.com
beyazesyateknikservisi.com.tr
servis
TİKTOK PARA HİLESİ İNDİR
çekmeköy lg klima servisi
ReplyDeleteümraniye daikin klima servisi
beykoz toshiba klima servisi
tuzla vestel klima servisi
kadıköy arçelik klima servisi
kartal samsung klima servisi
pendik toshiba klima servisi
kadıköy lg klima servisi
maltepe alarko carrier klima servisi
yurtdışı kargo
ReplyDeleteen son çıkan perde modelleri
lisans satın al
uc satın al
en son çıkan perde modelleri
minecraft premium
özel ambulans
nft nasıl alınır