Overview
Basic steps to install Mule ESB Community Edition runtime and get it kickin'.
Instructions
Get and install Java JDK, must be 32 bit:
http://www.oracle.com/technetwork/pt/java/javase/downloads/jdk8-downloads-2133151.html
Select jdk-8u161-windows-i586.exe
Get Mule Community Edition Runtime from:
https://developer.mulesoft.com/download-mule-esb-runtime
Once you have downloaded the zip package (mule-standalone-n.n.n.zip), extract it.
Rename the directory from "mule-standalone-3.9.0" to "Mule".
Copy the 'Mule' directory to the C: -drive. This is what you should see now:
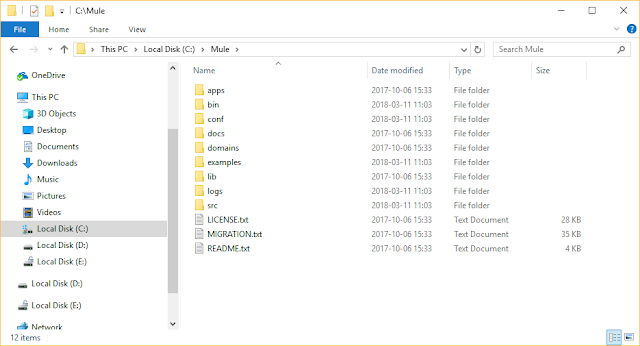
Run CMD as Administrator and "cd c:\mule\bin".
Enter command "mule". Mule should start.
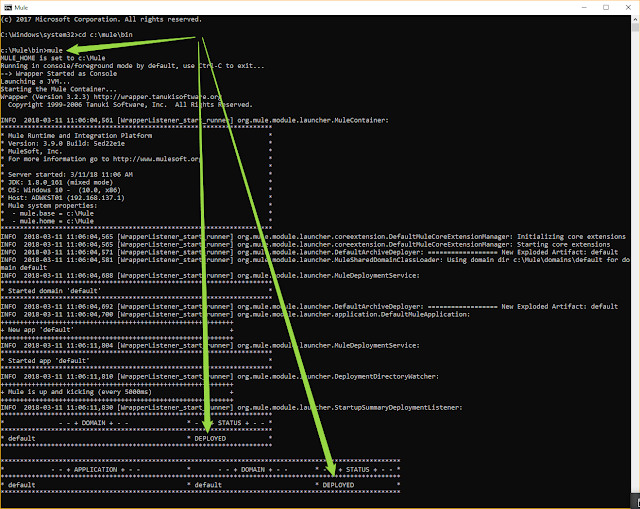
Use "CTRL+C" to stop Mule. Terminate batch job (Y/N)? y
To install Mule as a service, enter the "mule install" command.
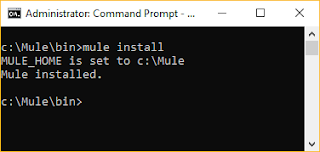
To be able to run Mule as a service, you'll need an account for Mule.
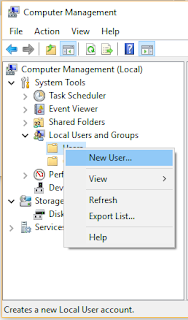
Go to Computer Management
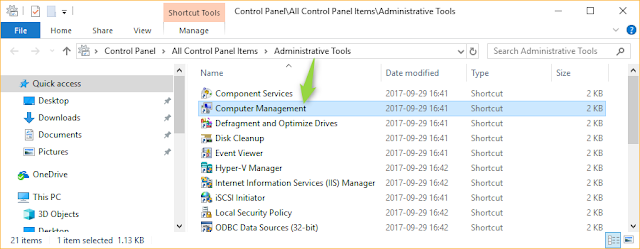
Right click on the Users directory and select "New User"
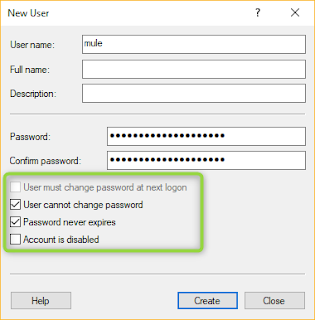
Create a new user. Note the checkboxes.
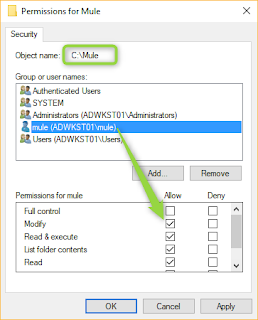
Grant 'Modify' rights for the 'mule' user to the C:\Mule -directory.
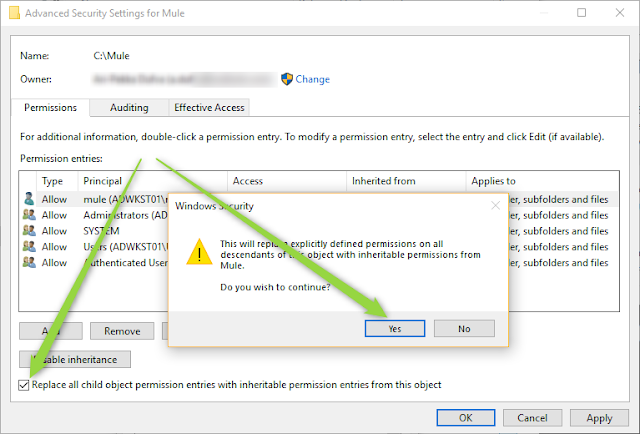
If you get errors, go to the Advanced settings. First go to Auditing and click Continue. This will make you run the settings as an administrator.
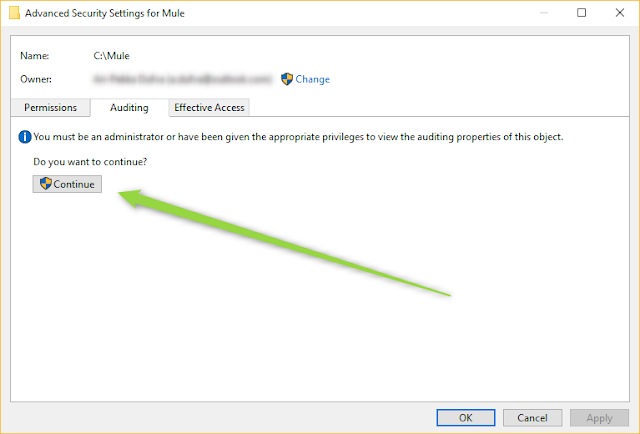
Then replace the permissions in the sub directories.
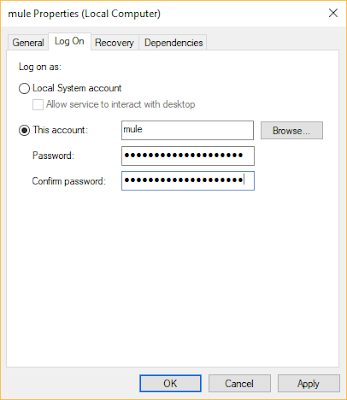
Go to the 'mule' service and set the account and the password.
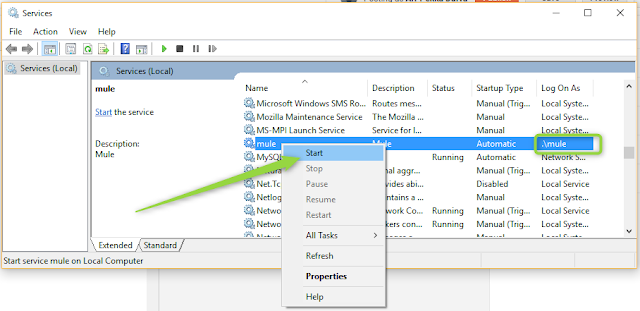
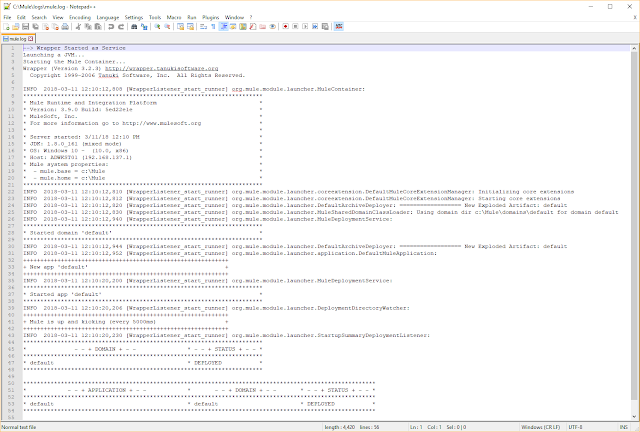
After a few seconds check the "C:\Mule\logs\mule.log" file that Mule is live and kickin'.
Thanks for Posting such an useful and informative stuff...
ReplyDeletemule esb training
ReplyDeleteThis concept is a good way to enhance the knowledge.thanks for sharing.. Great article .
Mulesoft Training in Hyderabad
Mulesoft Online Training
Thanks for your inforamtion. Keep posting.
ReplyDeletemulesoft training
mulesoft online training
ReplyDeleteThank you for sharing wonderful information with us to get some idea about it.
Mule Certification
Mulesoft Training in Hyderabad
Mulesoft Training in Bangalore
Mulesoft Training Hyderabad
Best Mulesoft Online Training
Best Mulesoft Training
Mulesoft Course Online
Mulesoft Training and Certification
Mulesoft Architecture Certification
Mulesoft Course
Mulesoft Developer Certification
Mulesoft Self Learning
ReplyDeleteThis is so elegant and logical and clearly explained. Brilliantly goes through what could be a complex process and makes it obvious.
sap mm training in Bangalore