Overview
These instructions assume that you have AnyPoint Studio up and running.
In this example you create a Mule app that transfers *.txt files from a directory to another and archives the source files.
Instructions
First you'll want to install Community runtime. Go to Install New Software and expand Anypoint Studio Community Runtimes and select the runtime you want.
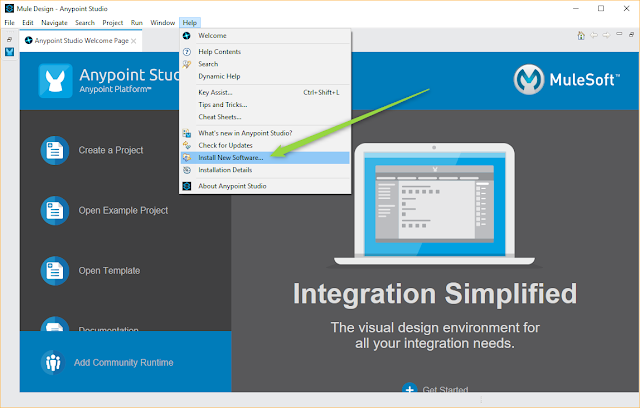
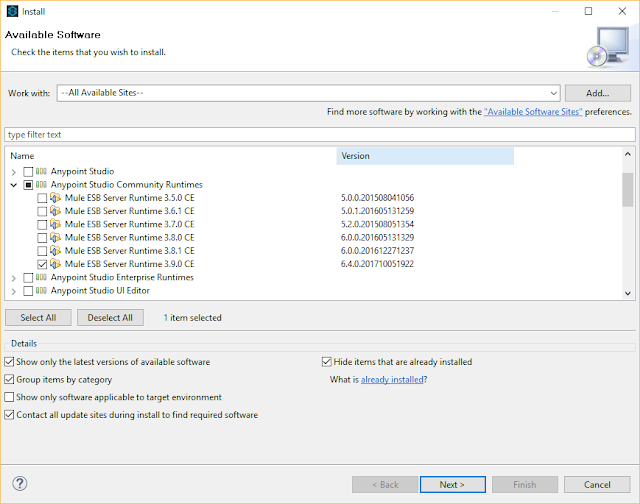
Once the Community runtime is installed you are ready to create your first application.
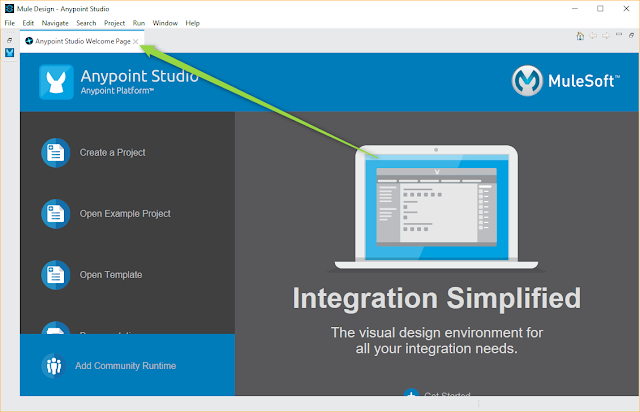
Close the welcome page.
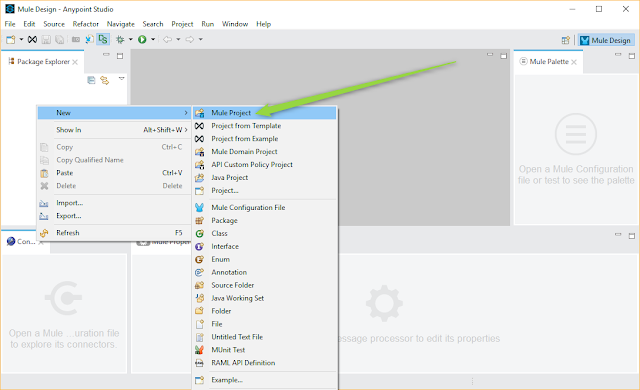
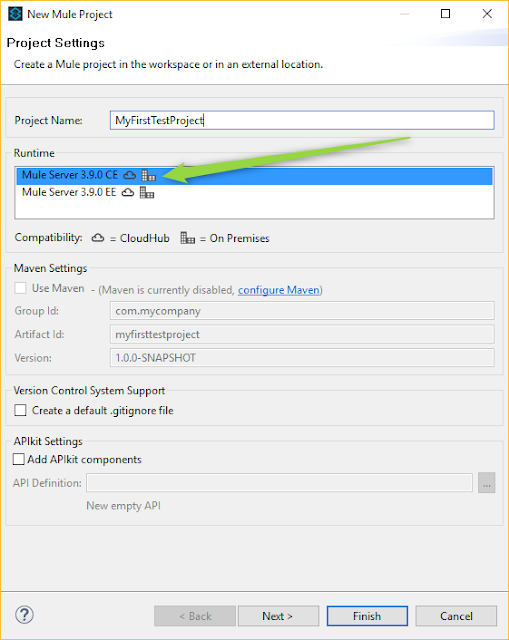
Right click on the blank area of Package Expolorer, select New and Mule Project.
Give a name and select the CE runtime.
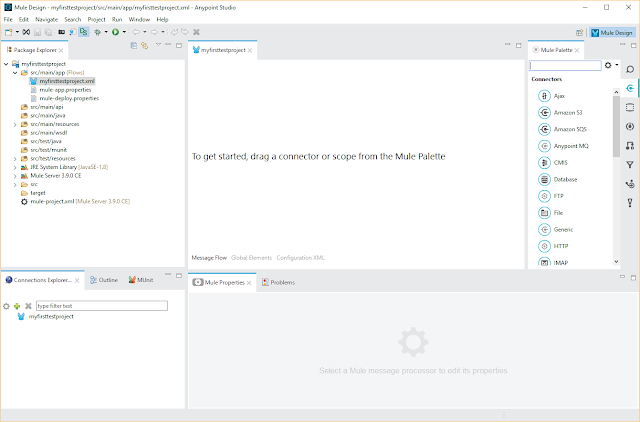
A blank project is created.
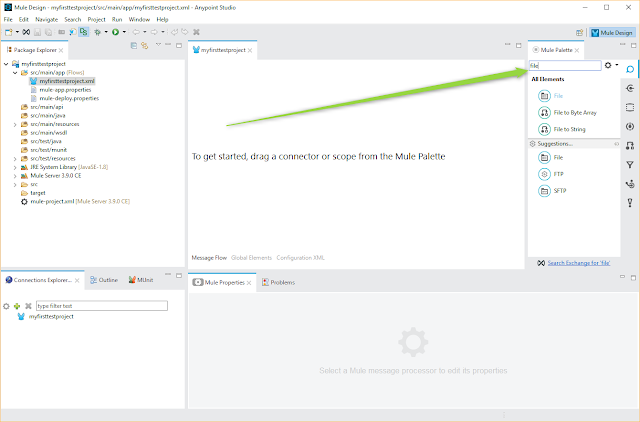
Type 'file' in the search box. Drag the File element to the blank space.
Create directories c:\temp\in, c:\temp\in\archive and c:\temp\out.
In the File element define the paths. When the paths are ok, click the plus icon to add a filter.
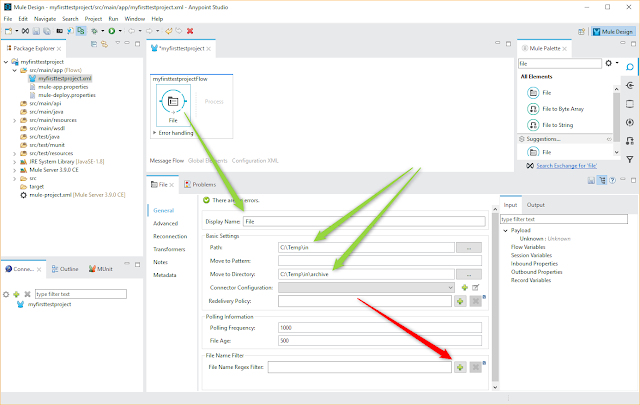
Define the filter and set it not to be case sensitive.
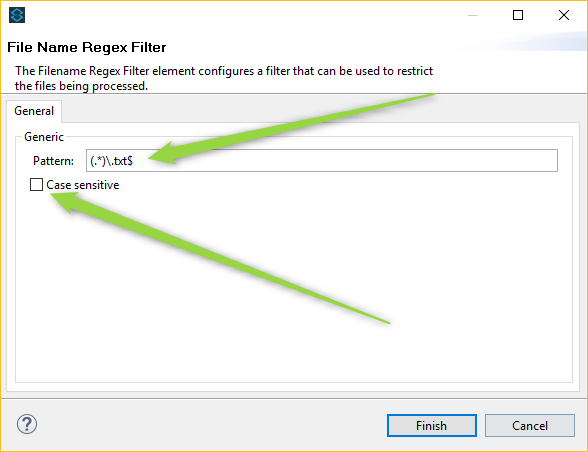
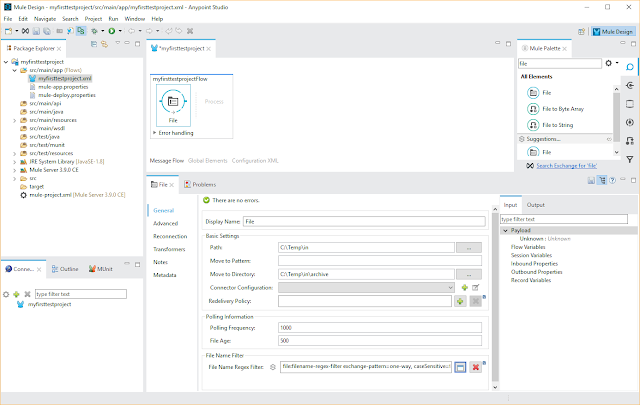
This is what you should see now.
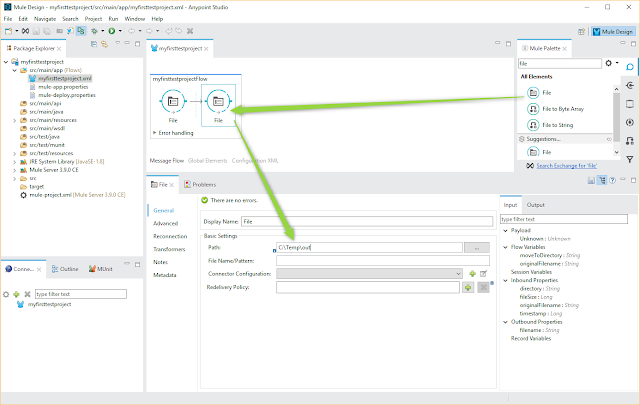
Drag another File element next to the first one. Define the path to be C:\Temp\out. Save the project.
On the myfirsttestprojectFlow right click and select "run project myfirsttestproject".
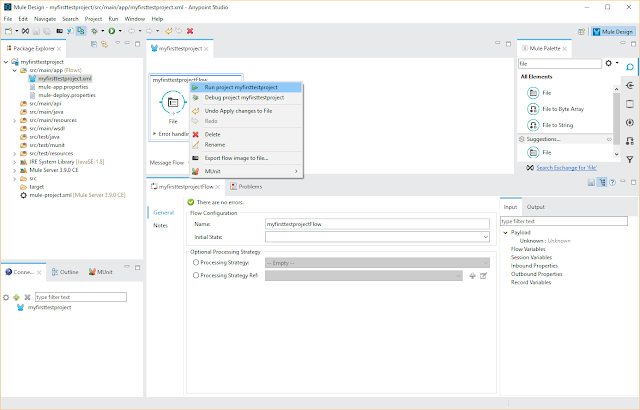
The project is now running.
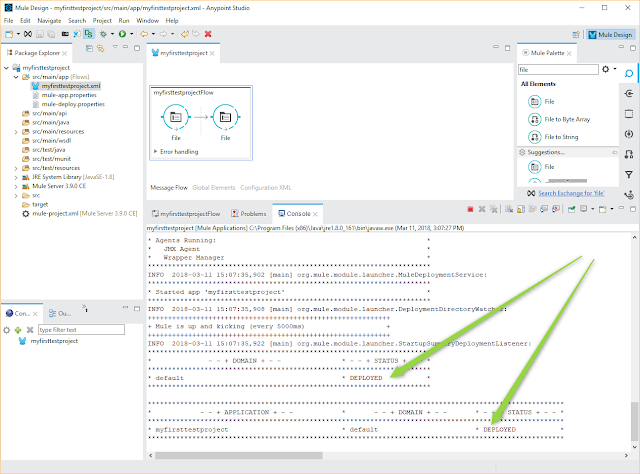
Put a txt -file to the C:\Temp\in -directory. Polling frequency was 1000 (=1 sec) so the file is quickly transferred to the C:\Temp\out and C:\Temp\in\archive -directories.
Thank you so much for providing nice information with us.
ReplyDeleteMulesoft Online Training
Mulesoft Training in Hyderabad
I really liked your blog article.Really thank you! Really Cool.
ReplyDeleteMuleSoft training
MuleSoft online training